
The definitive guide to shoulder/wrist pain during pushups.
“Drop and give me 20!”
I feel like this sort of command has been around since commands were first given.
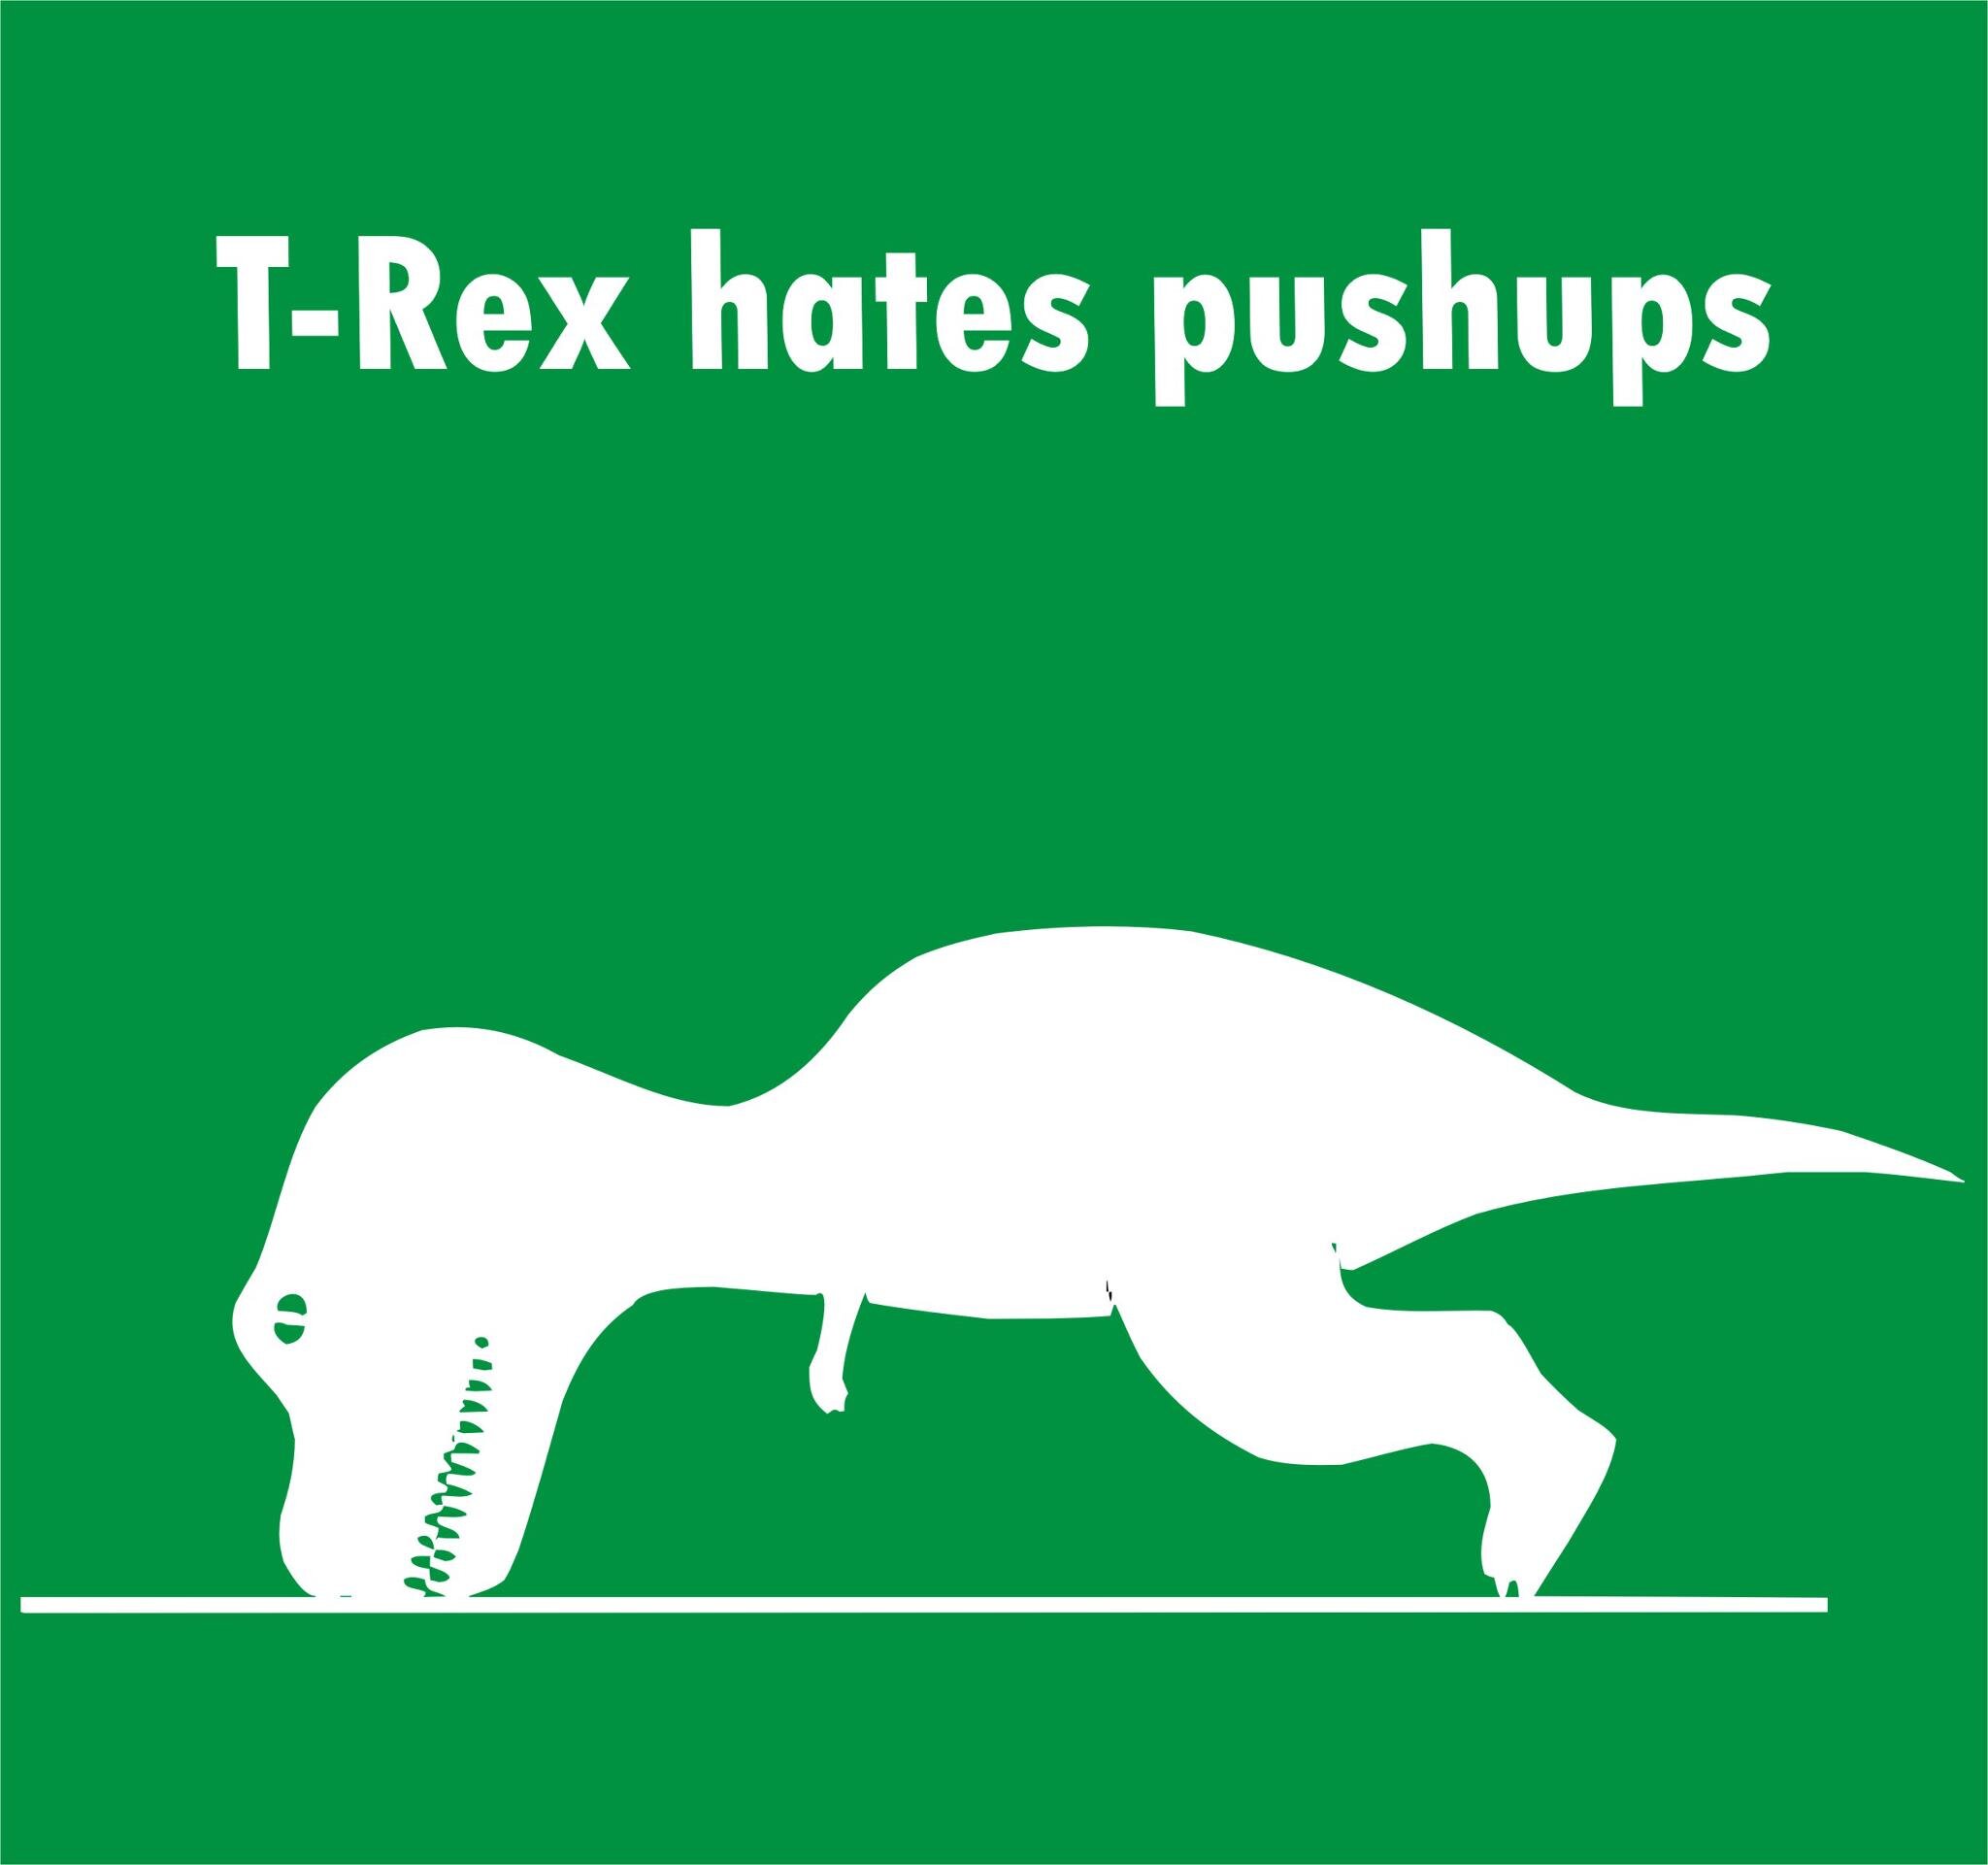
To this point, pushups have been around since the dinosaurs. But not for T-rex. T-rex hates pushups.
Pushups are one of those exercises that you just do because you want to. You do not need any equipment and they can be done almost anywhere.
They are also very popular with group exercise classes and boot camps for the same reasons.
Pushups are a great exercise.
You would think, given their wild popularity, that people would be able to perform better pushups.
This, sadly, is just not true. It seems that people are determined to make a mess of all things.
Due to the absurd amount of terrible pushups, a lot of people also deal with wrist and/or shoulder pain when trying to do them.
Let’s break down why your pushups are terrible and how to get rid of the wrist and shoulder pain, shall we?
It’s a total-body exercise
One of the most glaring issues with pushups is the misconception that they are just an upper-body movement.
Pushups should be treated as a total-body movement. You need to maintain total-body tension during setup and throughout the entire movement.
If your pushup looks like one of these below, you are not maintaining total-body tension at all.

These two could be related.

Here is another reality that is tough for many people to accept.
You probably do not belong on the floor. This is true regardless of age or sex.
The goal is total-body tension and a full range of motion. Most people miserably fail at both.
While there are many variations to pushups, I am going to focus on the floor pushup (what most people think of when they discuss pushups) and the incline pushup (where most people should start learning how to perform pushups properly).
If you are dealing with pain in the shoulder or wrists, I would suggest mastering the basics with these two before getting fancy with other variations.
Most of the tips we will discuss will help with the other fancy versions anyway so learning and mastering the basics will provide benefit later on.
Let’s look at what a good pushup should look like.
Floor vs incline
So, what is the goal with your pushup technique?
Your whole body should move as one piece. There should be no excessive movement at the head/neck, shoulders, low back, or hips. Check out the video to see what I mean.
As I mentioned before, most people do not belong on the floor.
They should start with some sort of an incline. Trying to control the head/neck, shoulders, low back, and hips while on the floor is too much at first.
But, working from an incline makes the pushup a little easier which makes it easier to integrate all the other parts.
What should your incline pushup look like? Check out the video below.
Sometimes the reason there is pain when performing pushups is because you are forcing the floor pushup.
The next section will start to break down types of pain and how to fix them.
Wrist pain during pushups
Let’s start with the incline pushup as wrist pain here is typically from a couple of issues. Both of which are pretty easy to address.
The first issue was already discussed in a previous video. If you place your hands to close together during a pushup, the wrists and elbows are put into compromised positions.
When setting up on the bar, using the knurling to appropriately distance your hands. This keeps the wrists, elbows, and shoulders in better alignment.
The second issue often comes paired with the first.
When you start to lower yourself down to the bar, the wrists drop and move the wrist into extension.
This position takes the emphasis off the muscles and puts most of it on the wrist joints.
The key to avoiding this position is to try to wrap the thumbs over the bar and to keep the wrist locked as you lower down towards the bar.
The video below will discuss wrist pain on the bar as well as on the floor and how to correct it.
What about wrist pain when you are on the floor?
This is actually pretty common. A lot of people’s wrists do not like the pushup position.
Does that mean pushups on the floor are out? Nope.
You just need to keep the wrist out of the fully extended position that causes you pain.
Check out the video below to manage your wrist pain from any setup.
Shoulder, elbows and wrists, oh my
As I mentioned at the start, terrible pushups abound so technique is a major reason why pushups cause so much pain to so many.
I am going to break down specific issues with the pushup over the next five videos.
In the wrist pain during the incline pushup video above, I mentioned using the knurling on the bar to set the hands a proper distance apart. This minimizes the stress on the joints.
Setup for the pushup on the floor should follow similar advice. Generally speaking, avoid extremes with your hand position.
Having your hands really wide does not do much to the chest but it will wreck your joints.
Diamond pushups (where your hands are touch and form a diamond) are not a great option unless you are a fan of joint pain.

Hands, generally speaking, should be about shoulder-width apart and in-line with your chest.
Too often, people place their hands closer to their shoulders and head which makes the movement awkward and adds more stress to the joints.
Oh yeah, and it will make it harder to complete a respectable number of reps due to the poor setup position.
Next, we are going to discuss your bobble-headed approach to pushups.
Chest, not chin
One of the most common cues I give to clients when coaching proper pushup technique is, “Lead with your chest, not your chin.”
Once you get into a good pushup position, your goal is to maintain it throughout the entire motion.
Allowing the head to shoot forward as soon as you start moving is a breakdown in proper technique.
As the head and neck move forward, which in the pushup position also moves down, the upper back starts to round which changes the shoulder blade position.
The shoulder blade contributes to three of the four shoulder joints so when it moves in a way we do not want it to, problems are not too far behind.
As the head moves forward and the shoulder blades shift, there is also a flaring of the elbows that takes place.
Now, the pushup is turning into a dumpster fire of a movement and it would not be surprising if you felt pain during the movement.
So, remember kiddos, lead with the chest, not the chin.
Squeeze the blades to get you going
Remember in the previous section when I talked about leading with the chest and not your chin. Those were good times.
So how do you do that?
The easiest way is to do this is to actively squeeze your shoulder blades together to initiate the downward phase of the movement.
This not only helps get the chest out in front but it also helps to limit rounding of the back and flaring of the elbows.
This sounds amazing, right?
It is, but there is one thing you have to watch out for.
When you start to work on this, it is not uncommon for the low back to arch noticeably when you try to squeeze the shoulder blades back.
You DO NOT want this to happen. You have to teach your body how to move the shoulder blades without arching the low back.
If you are not familiar with bracing your abs, you now have another big challenge ahead of you. Like I said in the beginning, pushups are a total-body exercise.
A smooth transition for a smooth criminal
A lot of people have a good looking pushup on the way down. Then something magical happens.
As they move from the bottom position back up, all hell breaks loose.
They lose their total-body tension, their elbows flare, their butt sticks up and their movement starts to resemble some of the moves from Breakin’ 2 (which might be better than the original).

Losing tension during the transition of any exercise is pretty common. With the pushup, especially when you are on the floor and don’t belong there, getting down to the floor is the easy part.
But getting back up is more than the body can handle so it moves through the past of least resistance and things get ugly.
One of the ways to make the transition smooth is to lower down under control.
As you approach the bottom, pause just for a second. Do not be in a rush to bounce out of the bottom position.
Squeeze the chest and shoulders to push yourself back to the top position.
The muscles you use to squeeze on the way up should be the ones used to lower yourself to the bottom position under control.
Really work to maintain the tension in the bottom position.
Putting it all together
At this point, we have talked about the pieces of the pushup and what might go wrong.
Now it is time to bring all of these pieces together to make sweet music.
If you are doing incline pushups, use the knurling to set your hand position.
If you are on the floor, I would start from your hands and knees to make sure you have the proper hand position.
Take the proper precautions if your wrists are hurting. Keep everything tight like you are holding a plank.
In reality, you are holding the plank until you complete all of your reps.
Squeeze the blades together and lead with the chest on the way down.
Pause briefly at the bottom. Maintain total-body tension. Squeeze the chest and shoulders to press back up.
Congratulations, you did one rep!
Once back to the top, DO NOT relax. Remember, you are holding the plank until you finish ALL the reps. Start the sequence over again for each rep.
Now, what happens if you have been crushing pushups on the bar and want to transition to the floor? This is not as easy as you may think.
Here are some ways to make it more doable for you.
Eccentric-only reps.
Every exercise has concentric and eccentric muscle contractions. Eccentrics are often referred to as negatives.
For this technique, you will be doing the negative only.
Once on the floor and in the proper position, slowly lower yourself to the floor. Try to make this take 3-5s.
Once you are down to the floor, put your knees down and get back to the top. Repeat for as many good reps as you can.
Use a roller.
Sometimes when you first get to get to the floor, it is difficult to keep all the pieces together through a full range of motion.
One option you can try is to put a foam roller under your body and gently come down to the roller on each rep.
This can be done with a full foam roller and progressed to a half foam roller.
Check out the video below to see how this all ties together.
Dead-stop for the win
Once you feel like you have mastered the pushup on the floor, you are now ready to try the dead-stop pushup.
This variation of the pushup will test all the components and see if you truly have A+ pushup technique.
The difference with a dead-stop pushup compared to the regular pushup is that in the bottom position, you rest on the floor and briefly take your hands off the floor before putting them down and pushing yourself up.
It kills all momentum and makes it very hard to cheat through these.
Roasted chesticles.
My boys always get a kick out of me calling pecs, chesticles. I’m not going to lie. I chuckle too.
If you focus on these strategies, not only will you get out of pain but you will keep more tension on your chesticles which is how you will get them to respond best to the exercise.
These strategies are simple but not easy to integrate into the movement. Take time with them and move to an incline pushup if you need to. It is much easier to work on these ideas from an inclined position.
If you need any help or have questions, reach out via the CONTACT PAGE, FACEBOOK, or INSTAGRAM.
Until next time,
Dr. Tom